


Edit Images Directly in cPanel: Thumbnails, Scaling, and Conversion
Images are among the most important elements of a website. They enhance visual impact, support content, and can display products, services, or information in a more comprehensible way. At the same time, however, images are one of the most common reasons for slow loading times. Large image files, incorrect dimensions, or unsuitable file formats can cause a website to load sluggishly.
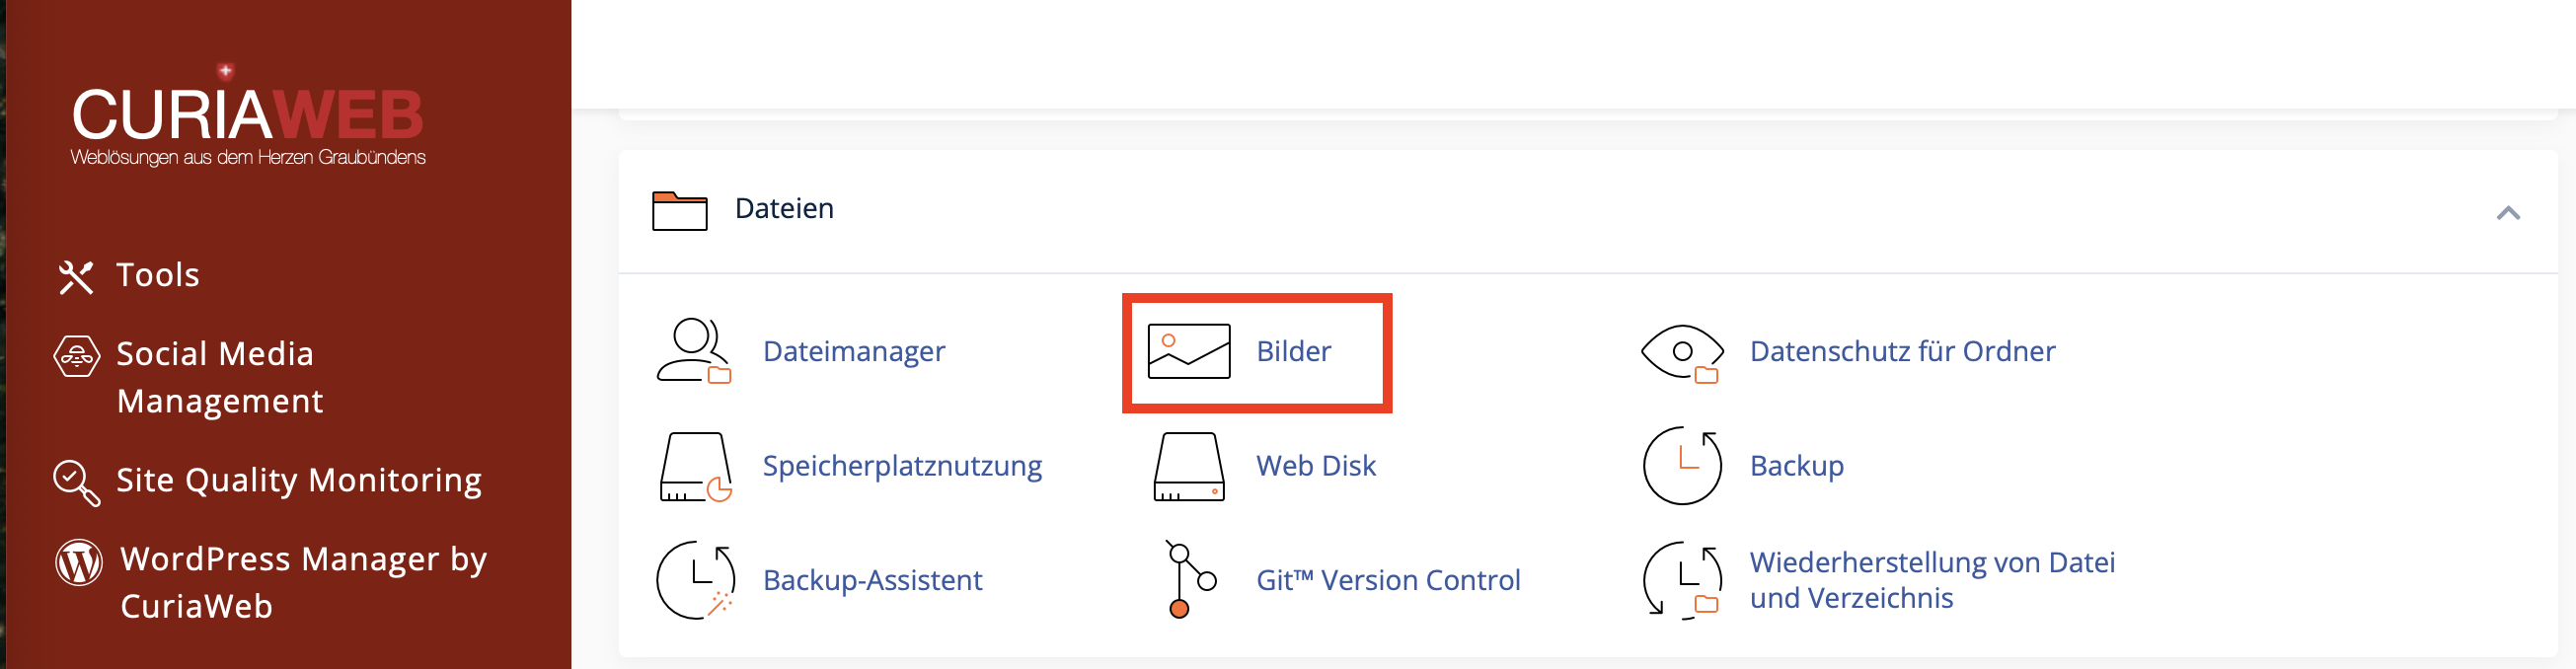
In the Images section, cPanel offers several built-in tools that allow you to edit image files directly within your hosting account. You do not need a separate graphics program, nor do you need to download the files first. Through your browser, you can create thumbnails, scale individual images, or convert image formats.
These features are particularly useful when you need to make quick, simple adjustments to existing files. However, for extensive image editing, professional compression, or graphic retouching, cPanel is not a substitute for specialized image editing software.
The images must already be located in your hosting account. If needed, upload the files first via the File Manager in cPanel or via FTP. Afterwards, you can edit them using the cPanel image tools.
What are the cPanel image tools suitable for?
The image tools in cPanel are intended for simple server-side adjustments. For instance, they are suitable when you want to reduce the size of a large image file, automatically generate preview images from multiple files, or convert an image into a different file format.
Typical use cases include:
- Creating small preview images (thumbnails) for galleries or overview pages
- Reducing the size of an image that was uploaded too large
- Adjusting image dimensions to match a website layout
- Converting an image to another file format
- Reducing unnecessarily large image dimensions
- Preparing images for simple HTML or PHP websites
It is important to note: The cPanel tools modify image files technically. They do not automatically optimize every image perfectly for SEO, loading speed, and design. For a professional website, you should also ensure you use appropriate filenames, meaningful alt texts in HTML or the CMS, and the most efficient file sizes possible.
Overview of the Three Image Tools in cPanel
Thumbnailer
With the Thumbnailer, you can automatically create smaller preview images for all images in a selected folder. This is particularly convenient for image galleries, portfolio pages, or overview pages where only small versions of the images should be displayed initially.
- Creates thumbnails for images in a folder
- Creates a subfolder for the thumbnails
- Typically uses a prefix like
tn_for new files - Can maintain the aspect ratio
Scaler
With the Scaler, you can change the size of a single image. You can specify new dimensions in pixels or adjust the image size by a percentage. This feature is helpful when an image is much larger than it is actually displayed on the website.
- Scales individual image files
- Allows adjustment by pixels or percentage values
- Can maintain proportions
- Offers the option to keep a copy of the original, depending on the interface
Converter
With the Converter, you can convert image files into a different format. This can be helpful for specific requirements, such as when an application or a design expects a certain format.
- Converts individual files or images within directories
- Supports common formats like JPG, PNG, GIF, or BMP, depending on the server environment
- Usually retains the original file
- Suitable for simple format conversions
Thumbnailer: Create Preview Images Automatically
The Thumbnailer is especially helpful if you have many images in a folder and need smaller versions of them. Instead of resizing each image individually, cPanel can automatically generate thumbnails. These preview images are frequently used for galleries, article overviews, or product lists.
A typical example: You have uploaded several large photos into a folder. On an overview page, however, you do not want to load the large original images, but rather small thumbnails. The larger image should only open when the thumbnail is clicked. This allows a page to load significantly faster, provided that the website actually uses the smaller thumbnail files.
How to Use the Thumbnailer
- Log in to cPanel.
- Open the Thumbnailer tool in the Files or Images section.
- Navigate to the desired folder containing your images.
- Click on the folder name, not just the folder icon, to select the folder.
- Set the desired percentage size for the thumbnails.
- If possible, enable the option to maintain the aspect ratio.
- Start the process by clicking the corresponding button, for example, Thumbnail Images.
After generation, you will find the new preview images in a separate subfolder. Make sure to configure your website or CMS to actually use these thumbnail files. Simply creating thumbnails does not automatically improve loading time if the large original images are still embedded.
Scaler: Shrink or Adjust Individual Images
The Scaler is the right tool if you want to alter the dimensions of a single image. This makes sense, for example, if an image was uploaded with a width of 4000 pixels but is only displayed on the website at a width of 1200 pixels. In this case, the browser loads unnecessarily large amounts of data, even though the high resolution is not needed for display.
When scaling, you should pay close attention to maintaining the aspect ratio. If the width and height are changed independently of each other, the image can appear distorted. People, logos, or product images will then look unnatural.
How to Scale an Image in cPanel
- Open the Scaler tool in cPanel.
- Navigate to the folder where the image is located.
- Click on the name of the desired image file.
- Enter the new width and height in pixels, or use a percentage adjustment.
- Enable the option to maintain the aspect ratio, if available.
- Check whether a copy of the original should be saved.
- Click Scale to perform the resizing.
Downscaling is generally problem-free. However, subsequent upscaling does not improve image quality. If a small image is enlarged significantly, it often appears blurry or pixelated. For high-quality displays, always use a sufficiently large original image if possible.
Converter: Convert Image Formats
The Converter allows you to change image files into a different format. This can be useful if, for example, you received a file in a format that your website does not process as desired, or if you want to use a uniform format for certain images.
Common image formats have different properties:
- JPG/JPEG: well-suited for photos and images with many colors
- PNG: well-suited for graphics, logos, transparencies, and screenshots
- GIF: frequently used for simple graphics or animations
- BMP: technically possible, but usually not ideal for modern websites as files are often very large
A conversion does not automatically lead to a smaller file size. Converting a photo from JPG to PNG can even increase the file size significantly. Therefore, always check the file size and image quality after conversion.
How to Convert Images in cPanel
- Open the Converter tool in cPanel.
- Select the desired file or directory.
- Set the target format.
- Start the conversion by clicking the corresponding button.
- Afterwards, check whether the new file was created correctly.
Why Image Size and Format Matter for Websites
Images have a direct impact on your website's loading speed. A slow website can deter visitors and make usage on mobile devices difficult. Search engines also take user experience and the technical quality of a website into account. Therefore, it makes sense not to deliver images larger than they are actually needed.
For good website practices, you should keep the following points in mind:
- Do not use unnecessarily large image dimensions.
- Use JPG or modern image formats for photos, provided your website supports them.
- Use PNG primarily for logos, graphics, or transparent elements.
- Name image files descriptively, for example,
webhosting-switzerland-server-room.jpginstead ofIMG_4829.jpg. - Add meaningful alt texts in your CMS or HTML if the image is relevant to the content.
- Test your website on both desktop and smartphones after making changes.
The cPanel image tools primarily help with the technical adaptation of existing files. For comprehensive performance optimization, image compression, caching, appropriate image sizes in the CMS, and potentially modern image formats may also be relevant.
When Should Images Be Edited Locally?
Although the image tools in cPanel are practical, it is not always advisable to edit large quantities of images directly on the server. Scaling, converting, or creating many thumbnails consumes processing power from your hosting package. With very large images or extensive image collections, the process can take longer or hit technical limits.
In the following cases, local editing before uploading is often the better choice:
- When a very large number of images need to be optimized at the same time
- When the original files are extremely large
- When images need to be professionally compressed
- When colors, cropping, sharpness, or retouching are important
- When a standardized export process is required for many images
However, for individual corrections or quick adjustments directly inside your hosting account, the cPanel tools are very helpful.
Common Mistakes in cPanel Image Editing
- Original file overwritten: If no backup exists, the original version may be lost.
- Distorted image: This happens when the aspect ratio is not maintained.
- Image looks blurry: A common cause is heavy enlargement or a source image that was too small.
- File becomes larger after conversion: Not every target format is automatically more efficient.
- Website still loads slowly: The website might still be using the old, large original images instead of the optimized versions.
- Incorrect folder selected: Double-check before starting to ensure you are working in the correct directory.
Recommended Workflow
To edit images safely and efficiently, the following workflow is recommended:
- Upload new images to an appropriate folder first.
- Create a backup copy of important images.
- Check which image size is actually required on the website.
- Scale oversized images using the Scaler or prepare them locally.
- Create thumbnails for overviews or galleries if needed.
- Convert images only if the target format genuinely makes sense.
- Check image quality, file size, and appearance on the website after editing.
FAQ on cPanel Image Editing
Can I edit images professionally with cPanel?
No. The cPanel image tools are intended for simple technical adjustments, such as scaling, thumbnail creation, or format conversion. For retouching, color correction, cropping, layers, or professional compression, you should use specialized image editing software.
Will my original images be overwritten?
This depends on the tool and the options selected. Before starting, check whether cPanel creates a copy of the original or modifies the existing file. For important images, you should always create a backup copy beforehand.
Does creating thumbnails automatically improve loading time?
Not automatically. Thumbnails only help with loading times if your website actually uses these smaller files. If the large original images continue to be embedded, the benefit is lost.
Which image format is best for websites?
This depends on the type of image. JPG is usually well-suited for photos, PNG for logos, graphics, and transparent elements. GIF is often used for simple animations. In addition to the format, the actual file size, dimensions, and the method of integration on the website are also important.
Why does my image look blurry after scaling?
An image can look blurry if it has been scaled up significantly, or if the source material was already too small or of low quality. Shrinking is usually less problematic than enlarging. For sharp displays, you should work with a sufficiently large original image.
With the image tools in cPanel, you can scale images, create thumbnails, and convert file formats directly in your hosting account. These features are great for quick technical adjustments. However, for large quantities of images, professional optimization, or creative editing, local image editing prior to uploading is often the better choice.
If images look blurry after scaling, the website loads slowly, or you are unsure which format is suitable, CURIAWEB Support will be happy to assist you.
Create support request