


Inserting Images in WordPress: Design Posts and Pages Professionally
Images make WordPress posts and pages more visual, comprehensible, and professional. They break up long pieces of text, explain complex content, showcase products, support guides, and enhance the overall impact of your website. At the same time, poorly prepared images can slow down loading times, consume storage space, and negatively affect the user experience.
In this guide, you will learn how to insert images correctly using the WordPress editor, which image formats make sense, how to maintain alt texts, how galleries and featured images work, and what you should look out for regarding performance, SEO, and accessibility.
Why Images Are Important
Images serve multiple purposes on a website. They are not just decoration, but can explain content, build trust, and guide users intentionally.
Images help with:
- more comprehensible guides,
- more professional design,
- better readability of long posts,
- product presentation,
- brand impact,
- accessibility, when alt texts are properly maintained,
- SEO, when images are embedded relevantly to the topic,
- social media previews, when featured images are used.
Images achieve the best effect when they are not inserted randomly but support the content in a targeted manner.
1. Preparing Images Before Upload
Before you upload an image to WordPress, you should prepare it. Many images from smartphones, cameras, or graphic design programs are significantly larger than they need to be for a website.
Check before uploading:
- Is the image really necessary?
- Is the image cropping correct?
- Is the file compressed?
- Is the image width appropriate?
- Does the file have a meaningful name?
- Is the right file format chosen?
- Does the image contain any confidential information?
For many content images, widths between approximately 1200 and 1920 pixels are sufficient. Small graphics, logos, or icons require significantly less. Do not upload unedited 5 MB or 10 MB files if the image will only be displayed small on the website.
2. Choosing the Right Image Format
The image format affects quality, file size, and display. Not every format is ideal for every purpose.
| Format | Suitable for | Note |
|---|---|---|
| WebP | modern web images, product images, blog images | Very good compression with good quality. |
| JPG/JPEG | photos and complex images | Good for photos, but lossy compression. |
| PNG | logos, screenshots, graphics with transparency | Can be significantly larger than JPG or WebP. |
| GIF | simple animations | Often not ideal for modern animations. |
| SVG | logos and vector graphics | Only use with a secure configuration, as SVG can contain code. |
For regular content images, WebP is often a very good choice. For transparent graphics, PNG can make sense. For photos, JPG is still widely used, but it should be compressed well.
3. Using Good File Names
The file name should be adjusted before uploading. WordPress transfers the file name into the media URL. Although you can change the visible title later, the file itself usually remains saved under its original name.
Good file names are:
- short,
- comprehensible,
- lowercase,
- separated by hyphens,
- without umlauts,
- without spaces,
- without special characters,
- thematically appropriate.
Examples:
- Good:
wordpress-bild-einfuegen-block-editor.webp - Good:
produktfoto-schwarze-kaffeetasse.jpg - Less good:
IMG_8392.JPG - Less good:
Bild neu final groß!!.png
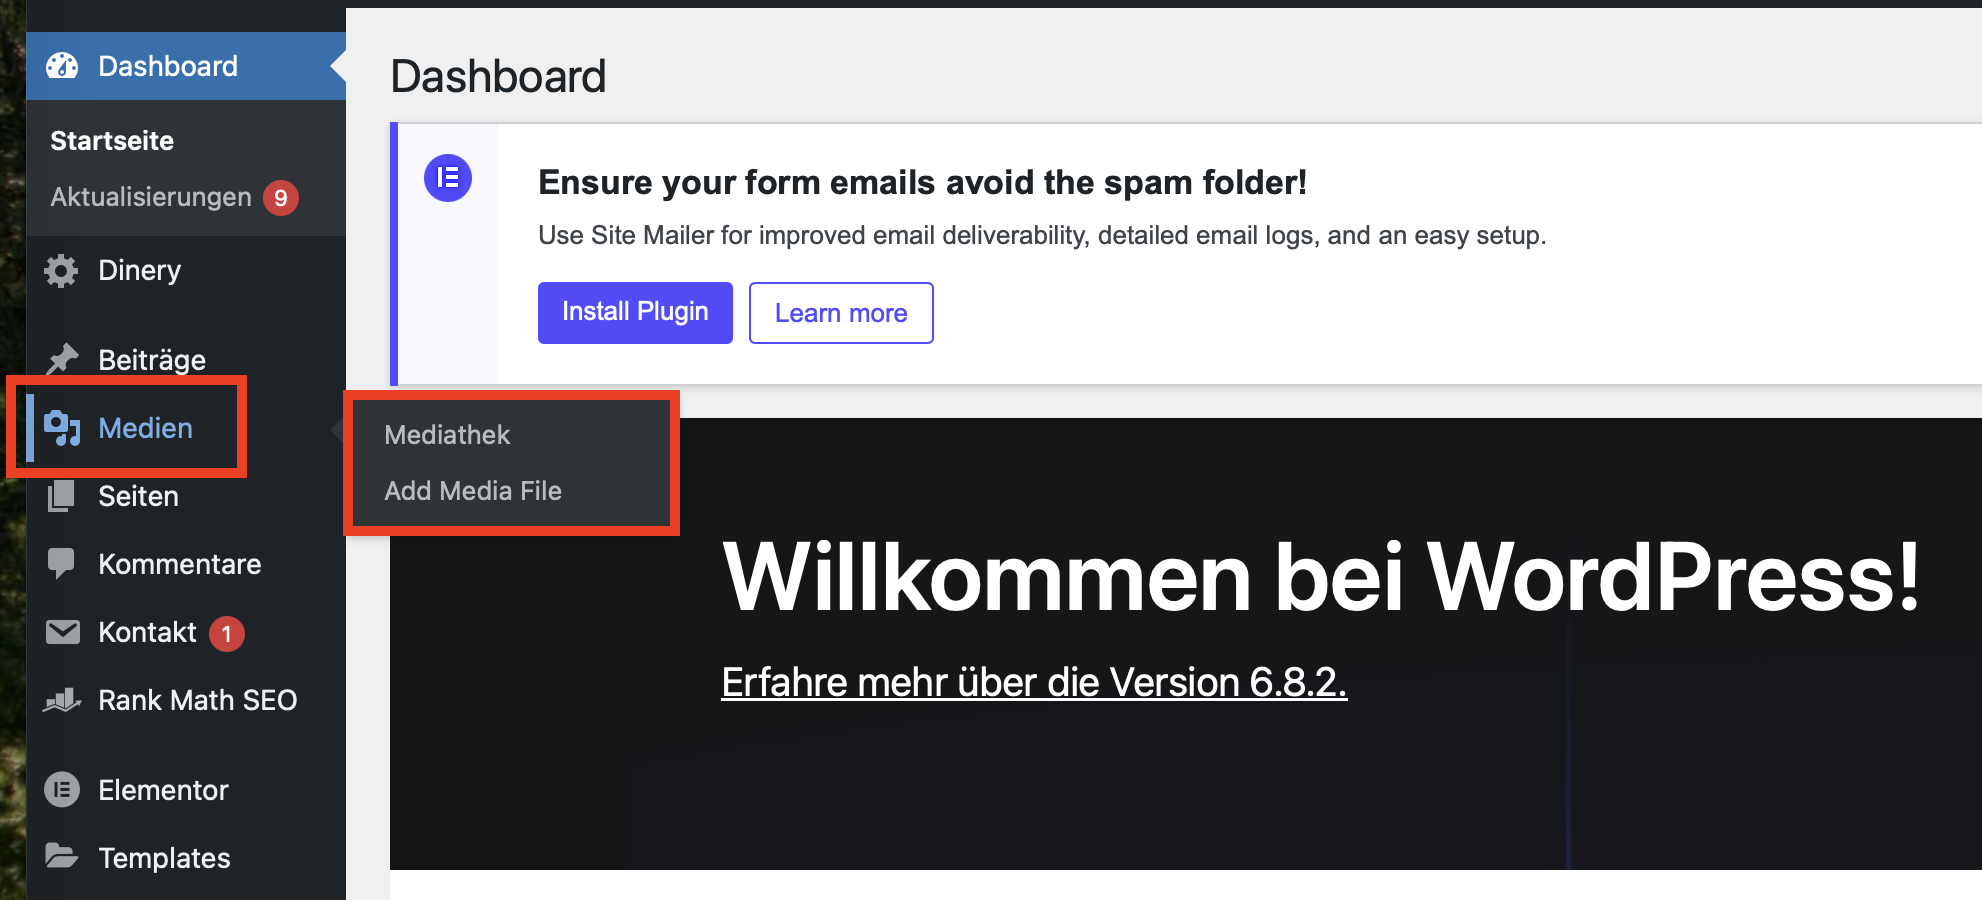
4. Inserting Images in the Block Editor
In modern WordPress versions, you mostly insert images using the block editor. The matching block is called Image.
Here is how you proceed:
- Open the desired post or page.
- Click on the spot where the image should appear.
- Click on the plus icon.
- Search for Image.
- Select the Image block.
- Decide whether you want to upload an image, select one from the Media Library, or insert it via URL.
After inserting, you can adjust alignment, size, link behavior, alt text, and other settings.
5. Upload, Media Library, or URL?
When inserting an image, WordPress offers several possibilities. Each variation has a different use case.
| Option | Meaning | Recommendation |
|---|---|---|
| Upload | File is loaded from the computer into WordPress. | Standard way for your own images. |
| Media Library | Select an already uploaded image. | Ideal for reusing existing media. |
| Insert from URL | External image is embedded via a third-party address. | Only use intentionally; external images can disappear, load slowly, or be legally problematic. |
6. Selecting Image Size in the Editor
After inserting, you can choose which image size should be displayed. WordPress generates several image sizes during upload depending on your settings.
Typical options:
- Thumbnail: very small, suitable for overviews or small elements.
- Medium: suitable for smaller content images.
- Large: suitable for wide content areas.
- Full Size: original file, only use when really necessary.
Do not automatically use the full size. If the image is only displayed 800 pixels wide in the post, there is no need to load a 4000-pixel file.
7. Adjusting Alignment and Appearance
You can change the alignment using the toolbar of the image block. Depending on the theme, different options are available.
Possible alignments:
- align left,
- align center,
- align right,
- wide width,
- full width.
Not every theme supports "wide width" or "full width" in the same way. Always check the appearance in the preview after saving, especially on mobile devices.
8. Maintaining Alt Text Correctly
The alternative text describes what can be seen in an image. It is important for accessibility, image comprehension, and search engines. Screen readers can read alt texts aloud when users cannot see the image.
A good alt text:
- describes the image content precisely,
- is not too long,
- does not contain a list of keywords,
- matches the context of the post,
- is left empty for purely decorative images if applicable.
Examples:
- Good:
WordPress editor with open image block - Good:
Product photo of a black coffee mug on a light background - Bad:
Image - Bad:
WordPress SEO image hosting Switzerland buy fast cheap
Alt texts should be written for human beings, not as an artificial collection of keywords.
9. Using Image Captions
An image caption is a visible text directly below the image. It is optional, but can be useful if the image requires additional explanation.
Captions are suitable for:
- screenshots in guides,
- diagrams,
- statistics,
- product details,
- image credits,
- comparison images,
- photos with context.
Do not use captions unnecessarily for purely decorative images.
10. To Link Images or Not?
In the image settings, you can determine whether an image is linked. WordPress offers different options depending on the block and version.
Possible link destinations:
- None: Image is not clickable.
- Media File: Clicking opens the image file.
- Attachment Page: WordPress creates a separate page for the image.
- Custom URL: Image links to a desired address.
For regular content images, None is often the best choice. If an image needs to be viewed at a large size, a link to the media file can make sense. Attachment pages are often not ideal from an SEO perspective if they generate thin content pages.
11. Setting a Featured Image
The featured image is a special image for posts or pages. Many themes display it in blog overviews, archive pages, card layouts, header sections, or social media previews.
You can usually find the featured image in the editor in the right sidebar under Featured image.
A good featured image should:
- match the topic,
- have a consistent format,
- not be too large,
- look professional,
- look good on mobile devices as well,
- receive a meaningful alt text if relevant.
For a blog or a knowledge base, consistent featured images look significantly more professional than random image formats.
12. Using the Gallery Block
If you want to display multiple images as a grid, use the Gallery block. This allows multiple images to be selected from the Media Library and displayed together.
Galleries are suitable for:
- project photos,
- product variants,
- before-and-after images,
- event photos,
- references,
- step-by-step guides.
Pay close attention to file size and lazy loading with galleries. Many large images on a single page can heavily increase loading times.
13. Inserting Images into Columns or Layouts
If you want to display text and an image side by side, you can use the Columns block or Group block. Many themes and page builders offer additional layout options.
Typical areas of application:
- image left, text right,
- comparison of two images,
- team introduction,
- product advantages,
- feature sections,
- landing pages.
Always check such layouts on mobile. What looks good on a desktop can look too narrow or cluttered on a smartphone.
14. Inserting Images in the Classic Editor
If you use the classic editor, inserting works a bit differently. There you use the Add Media button above the text editor.
The process:
- Open the post or page.
- Place the cursor at the desired spot.
- Click on Add Media.
- Upload an image or choose one from the Media Library.
- Set the alt text, alignment, and size.
- Click on Insert into post.
The same basic rules apply in the classic editor: optimize images beforehand, use meaningful file names, and maintain alt texts.
15. Using Screenshots in Guides
Screenshots are particularly helpful for knowledge base articles and technical guides. They show exactly where a user needs to click or which setting is meant.
Good screenshots should:
- only show the relevant area,
- not contain any personal data,
- not show any customer data,
- not be unnecessarily large,
- be highlighted or captioned if necessary,
- fit the currently described interface.
When a software interface changes, screenshots should also be regularly reviewed and updated.
16. Images and Loading Time
Images are among the most common causes of slow websites. Especially multiple large images in a single post can significantly increase loading times.
Optimize loading times through:
- compressed images,
- appropriate image dimensions,
- WebP, when sensible,
- Lazy Loading,
- no unnecessary galleries,
- no uploaded original files in full size,
- clean caching configuration,
- fast hosting.
WordPress supports lazy loading for many images automatically. Nevertheless, you should not rely on this alone. A file that is too large stays large, even if it is loaded later.
17. Images and Mobile Display
Many visitors access websites via smartphones. Therefore, images must look good and load quickly on small screens.
Check:
- Is the image scaling correctly on mobile?
- Is the image cropping sensible even on small devices?
- Does the image not exceed the screen width?
- Are galleries usable on mobile?
- Does text next to images remain readable?
- Are important details not displayed too small?
Use the preview in the WordPress editor or test directly on a smartphone.
18. Common Mistakes When Inserting Images
- Uploading original images directly: Large files degrade loading times and backups.
- No alt text: Bad for accessibility and image comprehension.
- Wrong format: PNG for large photos often leads to unnecessarily large files.
- Embedding external images unchecked: Legal, technical, and performance risks.
- Using full size: Browser has to load unnecessarily large images.
- Inconsistent featured images: Blog overviews look unprofessional.
- Too many images per page: Long loading times and a restless layout.
- Images not checked on mobile: Display can look bad on smartphones.
SEO and GEO: Using Images as Context
Images can make content more understandable and provide additional signals. For SEO, file name, alt text, context, loading time, and technical integration are particularly important. Images should support the topic and not just serve as decoration.
For GEO (Generative Engine Optimization), images are especially helpful if they have an explanatory character: screenshots, diagrams, product images, before-and-after displays, or step-by-step illustrations. To ensure such content can be well understood, it should be sensibly captioned and explained in the text.
Good practice:
- explain the image within the surrounding text,
- use precise alt text,
- describe visible steps in screenshots,
- do not use unnecessary stock images without informative value,
- keep images up to date,
- keep image files technically accessible.
Recommended Procedure
- Select image: Only use images that support the content.
- Prepare file: Crop, resize, and compress.
- Adjust file name: Lowercase, hyphens, no umlauts or special characters.
- Upload image: Via Image block or Media Library.
- Choose appropriate image size: Do not automatically use full size.
- Maintain alt text: Describe the image content naturally.
- Check alignment: Control the display in the post.
- Test mobile preview: Check the smartphone view.
- Mind the loading time: Especially with multiple images or galleries.
- Set featured image: Useful for blog and archive displays.
Frequently Asked Questions About Inserting Images in WordPress
How do I insert an image in WordPress?
Open the post or page, click on the plus icon, select the Image block, and upload a file or choose an image from the Media Library.
What image size should I use?
Use the smallest size that still looks good in the layout. The full original size is rarely necessary for normal content images.
What is alt text?
Alt text describes the image content for screen readers, search engines, and situations where the image fails to load.
Should I use WebP?
WebP is very well suited for many website images because it enables high quality at a small file size. Still, check whether your workflow and your website support it correctly.
Can I insert images from external URLs?
Technically yes, but it is often not recommended. External images can disappear, load slower, trigger privacy issues, or violate usage rights.
What is the difference between an image and a featured image?
A normal image appears within the content. The featured image is a special preview image that many themes use in blog overviews, archives, or social media previews.
How do I insert multiple images?
Use the Gallery block. This allows multiple images to be selected from the Media Library and displayed as a grid.
Why does my page load slowly after inserting images?
Often images are too large, not compressed, or embedded in full original size. Optimize file size, format, and image dimensions.
Maximum Speed for Your Images
Well-optimized images look professional and load fast. With WordPress Hosting from CURIAWEB, you benefit from a Swiss server location, fast NVMe infrastructure, SSL included, and a stable foundation for image-rich websites, blogs, and galleries.
View WordPress Hosting from CURIAWEBProblems uploading images? Our CURIAWEB Support is happy to help you personally.
