


phpMyAdmin in cPanel: Importing, Exporting, and Managing Databases
With phpMyAdmin, you can manage the contents of your MySQL or MariaDB databases directly in your browser. The graphical interface is particularly ideal for importing and exporting SQL files, viewing tables, performing basic database checks, and making targeted changes within an existing database.
This makes phpMyAdmin an essential tool for website migrations, backups, database analysis, and managing CMS databases, such as those used by WordPress, Joomla, Drupal, WooCommerce, or PrestaShop.
How to Open phpMyAdmin in cPanel
- Log in to cPanel.
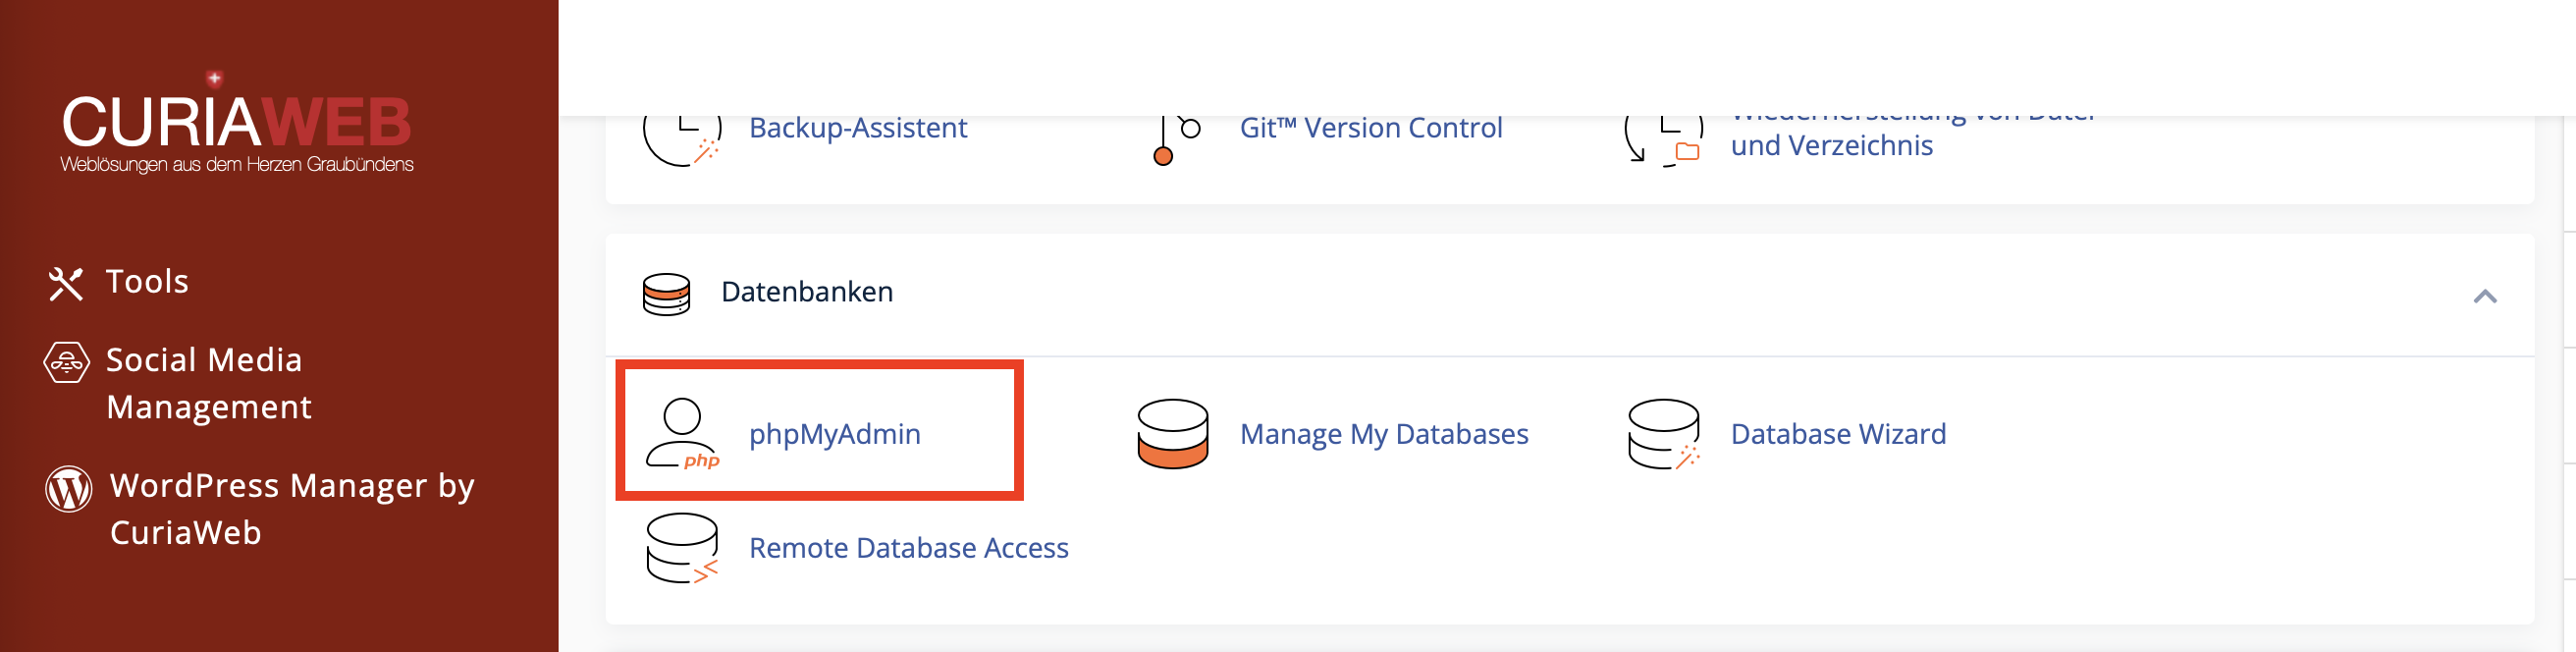
- In the Databases section, open the phpMyAdmin tool.
- phpMyAdmin will usually open automatically in a new browser window or tab.
- Select the desired database from the sidebar on the left.
If you have multiple databases, make sure to select the correct one carefully. Especially on production websites, changes should never be made without a prior backup.
Importing a Database: Deploying an SQL File
A database import is often required when migrating a website, restoring a backup, or applying an existing database structure.
- Open phpMyAdmin via cPanel.
- Select the target database from the left sidebar.
- Click on the Import tab in the top menu.
- Under File to import, click Choose File and select the SQL file from your computer.
- Verify the format if necessary. In most cases, SQL is correct.
- Scroll down and start the import by clicking Go or Import.
Once the import is successful, phpMyAdmin will display a confirmation message. After that, the imported tables should be visible in the database overview on the left.
Exporting a Database: Creating a Backup as an SQL File
Exporting a database creates a local backup of your database. This is highly recommended before performing updates, major changes, migrations, or manual adjustments to tables.
- Open phpMyAdmin in cPanel.
- Select the desired database from the left menu.
- Click on the Export tab at the top.
- Choose the Quick export method if you want to create a full standard backup.
- Select SQL as the format.
- Click Go. The SQL file will then be downloaded to your computer.
For standard website backups, the Quick method is sufficient in most cases. If you only want to export specific tables or configure advanced options, choose Custom instead.
Viewing, Searching, and Editing Tables
Once you select a database, you will see the tables it contains within phpMyAdmin. In WordPress, these tables often start with a prefix like wp_, such as wp_posts, wp_options, or wp_users. However, the actual prefix may vary.
Typical actions in phpMyAdmin include:
- Browse: View the table structure and stored records.
- Search: Find content within a specific table or the entire database.
- Edit: Modify individual data rows, provided you know exactly what needs to be changed.
- SQL: Run custom SQL queries.
- Import and Export: Apply SQL files or create database backups.
Common Import Error: "Access denied" or "CREATE DATABASE"
When importing an SQL file, an "Access denied" error may appear if the file attempts to create a new database or use a database that the current user does not have permission to access.
This frequently happens if the SQL file contains commands like these:
CREATE DATABASE databasename;
CREATE DATABASE IF NOT EXISTS databasename;
USE databasename;
In cPanel, you typically pre-create the target database via MySQL Databases or the MySQL Database Wizard. You then import the SQL file into exactly that existing database.
- Open the
.sqlfile on your computer using a suitable text editor, such as Visual Studio Code, Notepad++, or a similar application. - Look at the beginning of the file for lines containing
CREATE DATABASEorUSE databasename. - Remove these lines if the target database already exists in cPanel and you intend to import the file directly into that database.
- Save the SQL file.
- Restart the import in phpMyAdmin, making sure to select the correct target database on the left side first.
Common Error: Import Timeout
With large databases, the import via phpMyAdmin may cut off if the file is very large or if execution takes too long. Depending on the error message, this could be due to upload limits, memory limits, or execution time limits.
Possible solutions:
- Compress the SQL file, provided phpMyAdmin accepts the format used (e.g., zipped).
- Split the SQL file into smaller parts.
- Use SSH import, provided SSH access is included in your hosting plan.
- Contact CURIAWEB Support if the import cannot be reliably completed via phpMyAdmin.
Verifying the Import After a Website Migration
After a successful database import, you should verify that your website is using the new database correctly. Especially with WordPress and other CMS systems, the credentials in the configuration file must match perfectly.
- Database Name: Use the full name including the cPanel prefix.
- Database User: Use the full username including the cPanel prefix.
- Password: Enter it exactly as it was set in cPanel.
- Database Host: Usually
localhost, unless your application or hosting plan specifies otherwise. - User Privileges: The database user must be assigned to the database and granted all necessary privileges.
When to Use phpMyAdmin vs. MySQL Databases?
| Task | Recommended Tool |
|---|---|
| Create a database | MySQL Databases or MySQL Database Wizard |
| Create a database user | MySQL Databases |
| Manage user privileges | MySQL Databases |
| View or edit tables | phpMyAdmin |
| Import an SQL file | phpMyAdmin |
| Export a database as an SQL file | phpMyAdmin |
Summary
phpMyAdmin is the central tool when you want to manage the contents of an existing MySQL or MariaDB database. You can export databases, import SQL files, browse tables, search data, and make targeted modifications where necessary.
On the other hand, for creating databases, database users, and assigning privileges, you should use the cPanel features MySQL Databases or the MySQL Database Wizard.
Is your database import timing out or are you getting an error message in phpMyAdmin?
The CURIAWEB Technical Team is happy to assist you with importing, exporting, migrating, and analyzing your database.
