Configuring Spam Filters: How to Use Apache SpamAssassin Correctly
Spam, phishing, and unwanted promotional messages are among the most common problems in daily email communication. With the spam filters in cPanel, you can automatically check incoming messages and mark, move, or delete suspicious emails depending on your settings.
At CURIAWEB, the proven spam filter technology Apache SpamAssassin is available for this purpose. The system analyzes incoming emails based on many typical characteristics and assigns a so-called spam score. The higher this value, the more likely the message is spam.
Briefly explained:
Apache SpamAssassin rates every incoming email with points. If a message exceeds the defined threshold, it is classified as spam and treated according to your settings.
Why Spam Filters are Important
A well-configured spam filter protects your inbox from unnecessary clutter and reduces security risks. Unwanted messages are not only annoying, but can also contain dangerous links, fraudulent attachments, or forged senders.
Business email accounts in particular should therefore not be operated without spam protection. A sensibly configured filter helps you better separate important messages from unwanted content.
- Fewer unwanted emails: Spam is automatically detected and filtered out.
- Better overview: The inbox remains cleaner, and important messages are visible more quickly.
- Increased security: Phishing and fraud attempts are detected more frequently.
- Individual control: Thresholds, whitelists, and blacklists can be adjusted.
- Control instead of blind deletion: Suspicious messages can initially be moved to a spam folder.
How Apache SpamAssassin Works
Apache SpamAssassin checks incoming emails against various criteria. These include typical spam phrasing, technical characteristics in the message header, suspicious links, sender information, and other indicators that may point to unwanted messages.
For each detected characteristic, the message receives points. The sum of these points results in the spam score. If the threshold you defined is reached or exceeded, cPanel treats the message as spam.
Important:
No spam filter is 100% error-free. A setting that is too strict may incorrectly mark legitimate emails as spam. Conversely, a setting that is too loose will let more unwanted messages through.
Opening Spam Filters in cPanel
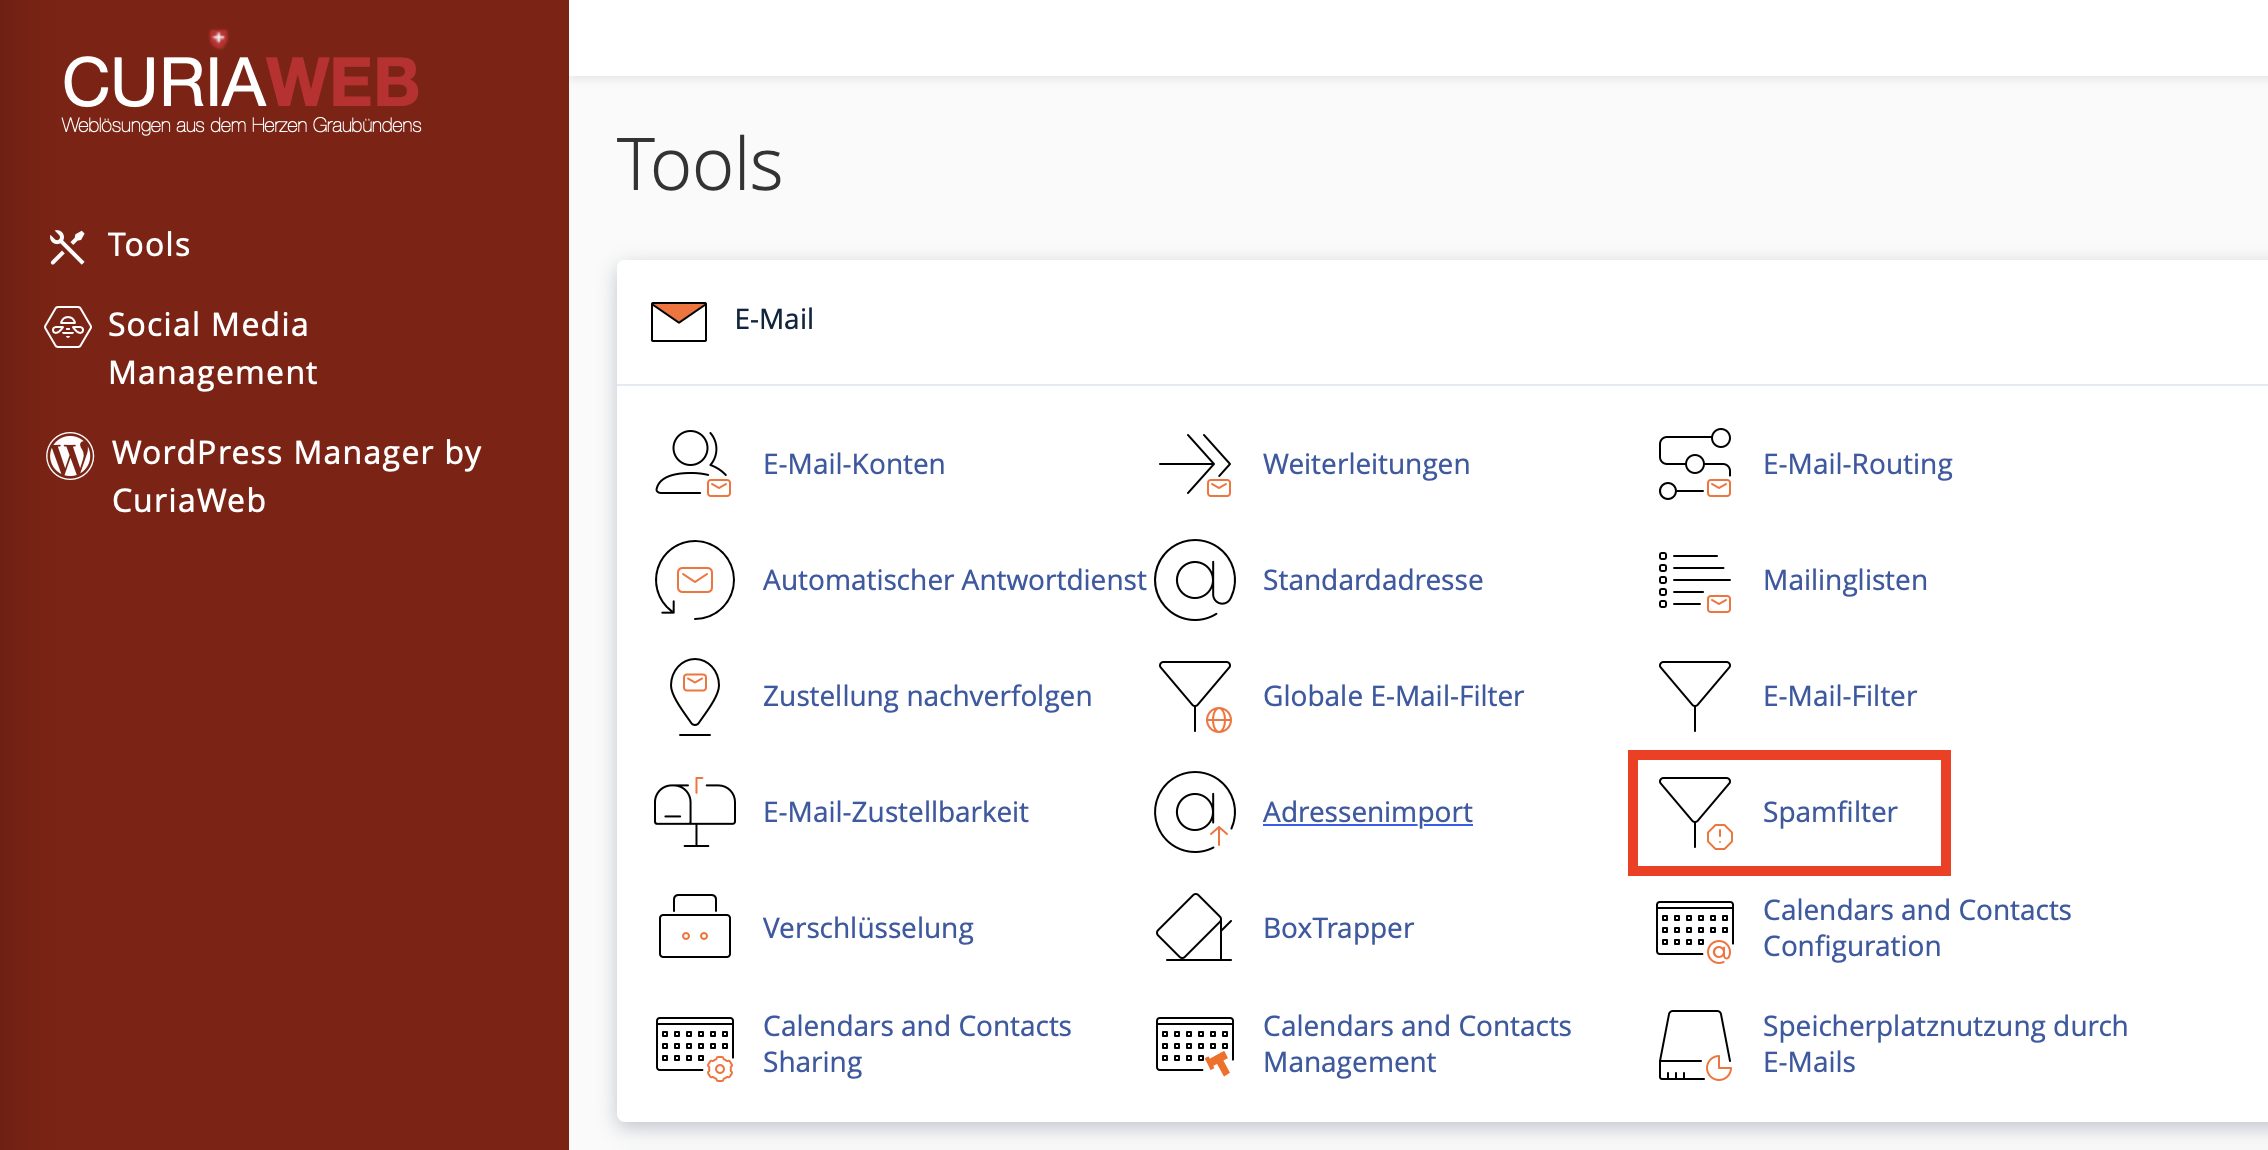
First, log in to your cPanel. Then, in the "Email" section, open the "Spam Filters" function. There you can manage the basic settings for Apache SpamAssassin.
Depending on the cPanel version and language, individual labels may vary slightly. However, the most important areas are usually the spam threshold, the handling of detected spam messages, and the advanced settings for whitelist and blacklist.
The Spam Threshold: How Strictly Should Filtering Be?
The spam threshold determines at which score an email is classified as spam. A lower value filters more strictly, while a higher value filters more leniently.
For most users, a value around 5 is a good starting point. If a lot of spam continues to arrive, the value can be lowered step by step. If important messages end up in spam, the value should be increased or a whitelist should be used.
Recommended Procedure for Fine-Tuning
Do not change the spam threshold too drastically all at once. After each adjustment, observe for a few days how many unwanted messages get through and whether legitimate messages are incorrectly marked.
| Situation | Recommended Action |
|---|---|
| Too much spam in the inbox | Lower the threshold carefully, for example from 5 to 4. |
| Important emails end up in spam | Increase the threshold or add the sender to the whitelist. |
| Only obvious spam should be blocked | Choose a higher threshold, for example 8 to 10. |
| Maximum control desired | Move spam to a separate folder instead of automatically deleting it. |
Using the Spam Folder
In many cases, the recommended option is to have detected spam messages moved to a separate spam folder. This keeps suspicious messages separate from the inbox, but allows them to be reviewed if necessary.
This is particularly important when receiving business emails. If a legitimate message is incorrectly identified as spam, you can still find it in the spam folder and react accordingly.
Recommendation:
Initially use the spam folder instead of automatic deletion. Check and empty the folder regularly, as stored spam messages can consume disk space in your hosting account.
Automatic Deletion of Spam
cPanel can also automatically delete detected spam messages. However, this option should be used with caution, as deleted messages may not be recoverable under certain circumstances.
Automatic deletion is primarily suitable for very clearly identified spam messages and rather high spam scores. If you use this function too aggressively, there is a risk that important messages will be lost.
Caution:
Only activate automatic deletion if you understand the implications. For many mailboxes, moving to the spam folder is safer than immediate deletion.
Spam Folder vs. Auto-Delete: Which is Better?
| Option | Advantage | Risk |
|---|---|---|
| Spam Folder | Messages can be checked and recovered if necessary. | The folder takes up disk space and must be emptied regularly. |
| Auto-Delete | Spam is removed immediately and does not use disk space. | Incorrectly identified emails may be lost. |
Whitelist: Always Allow Desired Senders
With a whitelist, you can give preference to specific sender addresses or domains. This is helpful if messages from an important partner, customer, or service provider are incorrectly classified as spam.
Examples of whitelist entries:
person@partnercompany.chfor a single address*@partnercompany.chfor all senders from a specific domain*@supplier.chfor messages from a supplier
Important with Whitelists:
Only enter trusted senders. Whelist rules that are too broad can make it easier for unwanted messages to be delivered.
Blacklist: Block Unwanted Senders
With a blacklist, you can specifically block certain sender addresses or domains. This is useful if you repeatedly receive unwanted messages from specific sources.
Examples of blacklist entries:
spam@example.comfor a single address*@unwanted.examplefor all senders from a specific domain*@advertisingdomain.examplefor recurring unwanted senders
However, keep in mind that spam senders frequently change their addresses. A blacklist is therefore primarily helpful for recurring, clearly identifiable sources.
Whitelist and Blacklist Comparison
| List | Purpose | Example |
|---|---|---|
| Whitelist | Preferentially allow desired senders | *@partnercompany.ch |
| Blacklist | Specifically block unwanted senders | *@spamdomain.example |
Using Wildcards Correctly
Wildcards can be used in whitelist and blacklist entries. The asterisk * is used most frequently. It serves as a wildcard for any characters.
Pro Tip on Wildcards:
With *@example.ch, you capture all senders from this domain. Use such rules intentionally, as they can be very far-reaching.
Use wildcards as specifically as possible. A rule for an entire domain is only useful if you fully trust that domain or want to block it completely.
Checking Spam Headers
If you want to understand more precisely why a message was rated as spam, the technical headers of an email can be helpful. They often contain information about SpamAssassin ratings, tests, or marks that have been set.
This information is particularly useful when the spam filter needs to be adjusted or when important messages are repeatedly misidentified.
Note for Support Requests:
If you need help with analysis, full email headers are often more helpful than just a screenshot of the message. Do not remove any relevant technical headers when doing so.
Combining Spam Filters and Email Filters
Spam filters and regular email filters perform different tasks. The spam filter automatically evaluates messages based on spam criteria. Email filters can additionally apply custom rules, for example based on subject, sender, recipient, or specific words.
In many cases, a combination makes sense: Apache SpamAssassin detects suspicious messages, while email filters map specific business processes or individual sorting rules.
Example: SpamAssassin marks suspicious messages, and an additional email filter moves marked messages into a specific folder or handles specific senders individually.
Best Practices for Apache SpamAssassin
A good spam filter configuration is balanced. The goal is not to block every single unwanted message at all costs, but to reliably reduce spam without losing important emails.
- Start with the default value: Begin with the standard score and only adjust if necessary.
- Prefer the spam folder: Especially for business mailboxes, verification is better than immediate deletion.
- Use the whitelist carefully: Only enter trusted senders or domains.
- Don't overemphasize the blacklist: Many spam senders change their addresses frequently.
- Empty the spam folder regularly: This avoids unnecessary storage consumption.
- Check headers when problems occur: Technical headers help with troubleshooting.
- No extreme values without testing: Very low thresholds can lead to misclassifications.
Common Problems and Solutions
I am still receiving too much spam:
Carefully lower the spam threshold, for example step by step from 5 to 4. Additionally, check if recurring senders can be captured via blacklist rules.
Important messages end up in spam:
Increase the threshold value or add the trusted sender or their domain to the whitelist.
The spam folder is becoming very large:
Empty the spam folder regularly. Note that spam messages also consume storage space in your hosting package.
A blacklist rule does not work as expected:
Check the spelling of the address or domain. Only use wildcards like *@domain.ch if you really want to capture all senders from that domain.
Messages are deleted immediately:
Check if automatic deletion is enabled. If you want more control, disable this option and use the spam folder instead.
Summary
With the spam filters in cPanel and Apache SpamAssassin, you protect your mailbox effectively against unwanted messages. The most important point is the spam threshold: it determines how strictly incoming emails are evaluated.
For most mailboxes, it makes sense to start with a moderate setting and initially have detected spam messages moved to a spam folder. Whitelists and blacklists additionally help to specifically manage recurring exceptions.
Need Help with Your Spam Filter Configuration?
CURIAWEB Support is happy to assist you with fine-tuning Apache SpamAssassin, analyzing email headers, or setting up appropriate whitelist and blacklist rules.
Create Support Ticket